
How to carve a Pumpkin
Pumpkin carving is a fun activity to do with your kids, ideal for Halloween. With supervision, it can inspire creativity, and help with fine motor skills depending on how intricate your designs are.

Tools you will need ..
Small sharp knife
Small serrated knife
Large needle or cocktail stick
Metal spoon
We also found something like the following kit useful for scraping finer details away..
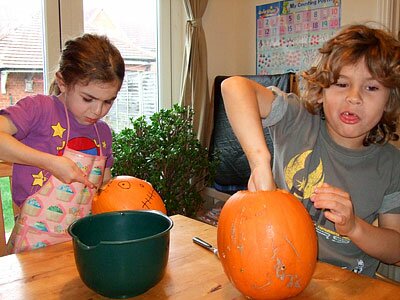
So how do you carve a pumpkin? The first step is to design your pumpkin. Get the kids involved and have them draw their design on paper. Bear in mind at this stage that strong shapes work well, and try to keep the design to the same scale as it appears on the pumpkin, especially if you use the sheet as a template. Don't inhibit your childrens designs, they can always be adapted when you transfer onto the pumpkin.


We also have some templates ready for you to print and use straight away ...


Once you are done, it is time to transfer the design onto the pumpkin. If the drawings are the same size as they will appear on the pumpkin, you can wrap the sheet of paper over the pumpkin and tape it on. Alternatively, you can draw the designs again by hand using a permanent marker pen. As our designs needed slight adapting due to scale, and some shapes being too close together, I chose to draw ours direct.


Once your designs are finished, the next step is to cut out the hole for the lid. Mark a circle around the top which is big enough to fit your hand in, be sure to account for the thickness of the pumpkin inside as you won't be able to adjust it afterwards and still be able to fit the lid on. Cut the lid out along your marked line using a sharp serrated knife. Small, thin blades work well here to allow you to follow the contour as you cut.

Now for the really fun part! Scooping out the brains! You can use a spoon or your hands, get stuck in and pull out all the stringy bits and seeds. Then use the spoon to scrape out the soft flesh inside. Be prepared to get messy and sticky, your kids will love this part (or not).
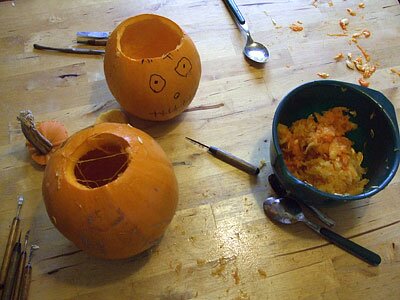
Once you have finished scooping everything out, give it all a wash and a wipe down ready for the next stage. The flesh can either be used in a pumpkin recipe or put in your composter.
The next parts depend on how advanced you want your finished result to be. It is possible to carve only half-way into the pumpkin flesh and create variation in the amount of light coming through.


If you have stuck your design to the pumpkin or want to prepare your existing lines ready for carving, the next step is helpful, and also kept our children very quiet while they concentrated. What you need to do is prick small holes along each line to create a shallow depth perforation in the pumpkin skin. It takes a while, so be patient and keep the holes close together. This process will help in carving away the skin later.


Now you can cut deeper into the pumpkin. Decide which areas are going to be the brightest and cut all the way through the skin and flesh. Carefully remove each piece as you cut it out and clean the edges with a small sharp knife.
Depending on your design, you may decide there are other areas you only want semi-bright. For these you need to carefully scrape away the pumpkin skin and then scrape deeper into the flesh until about half-way through.

Finally, clean all the edges with a sharp knife and smooth out any loose bits of flesh. Your pumpkin is now ready for a small candle light and display at night time. Please be careful when using candles and make sure you do not leave it unattended.

Have fun this Halloween!